Monday, November 30, 2009
Wednesday, November 25, 2009
What's on my Christmas list....
Here some of my latest picks from my favorite place....Etsy.com!!!!
I hope you heart them too...I attached the links for you to grab one of them as soon as possible!!!
XOXO
I hope you heart them too...I attached the links for you to grab one of them as soon as possible!!!
XOXO
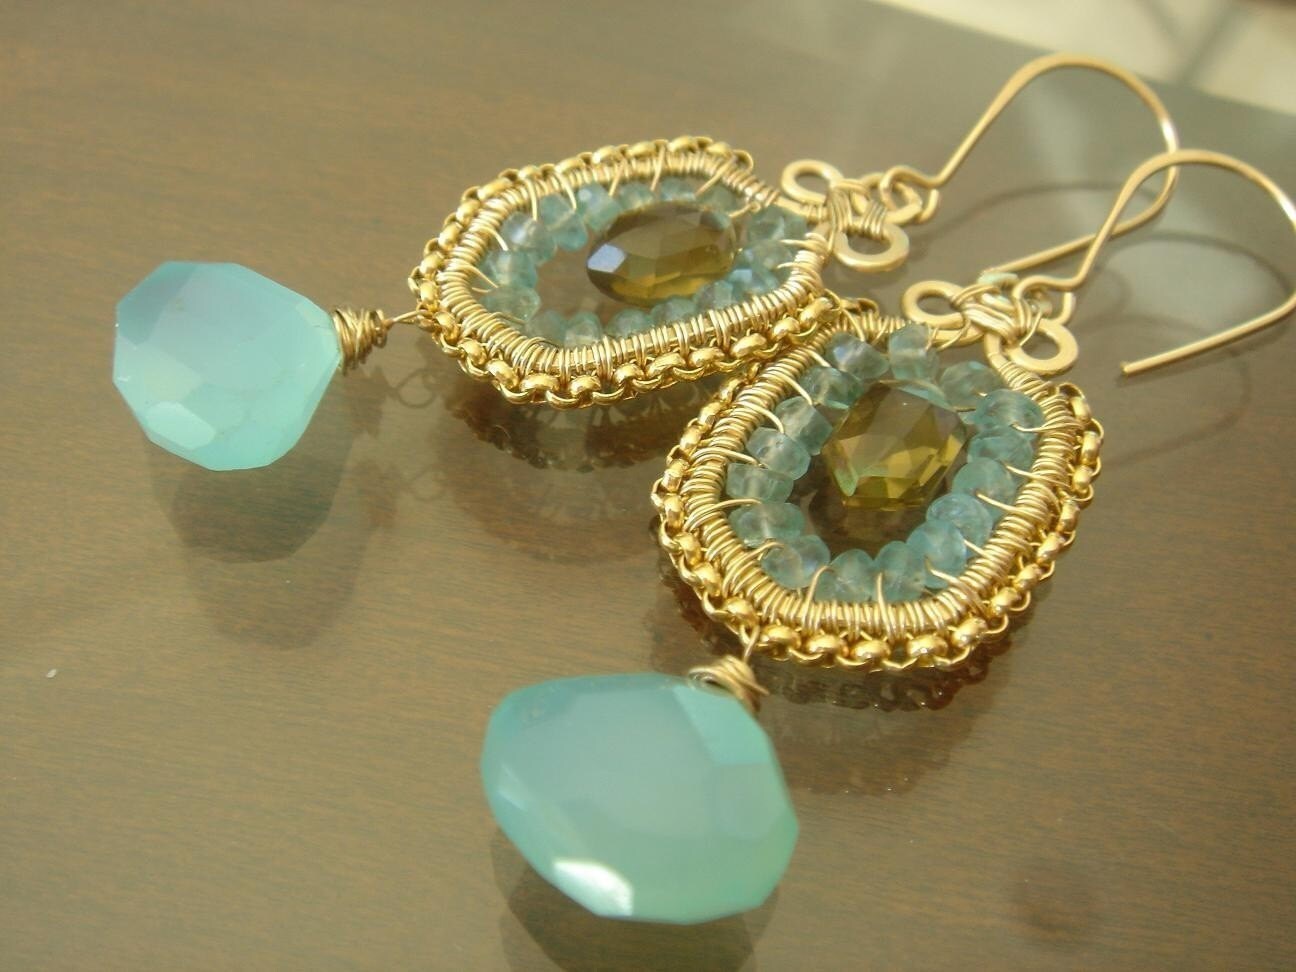
Awaiting Summer Sea Aqua and Gold Wire Intricately Coil Wrapped Earrings
My favorite color!!...I love this type of earrings...you can wear them day or night!! if you have a fashionista on your Christmas list ....this is perfect!!!!!!!
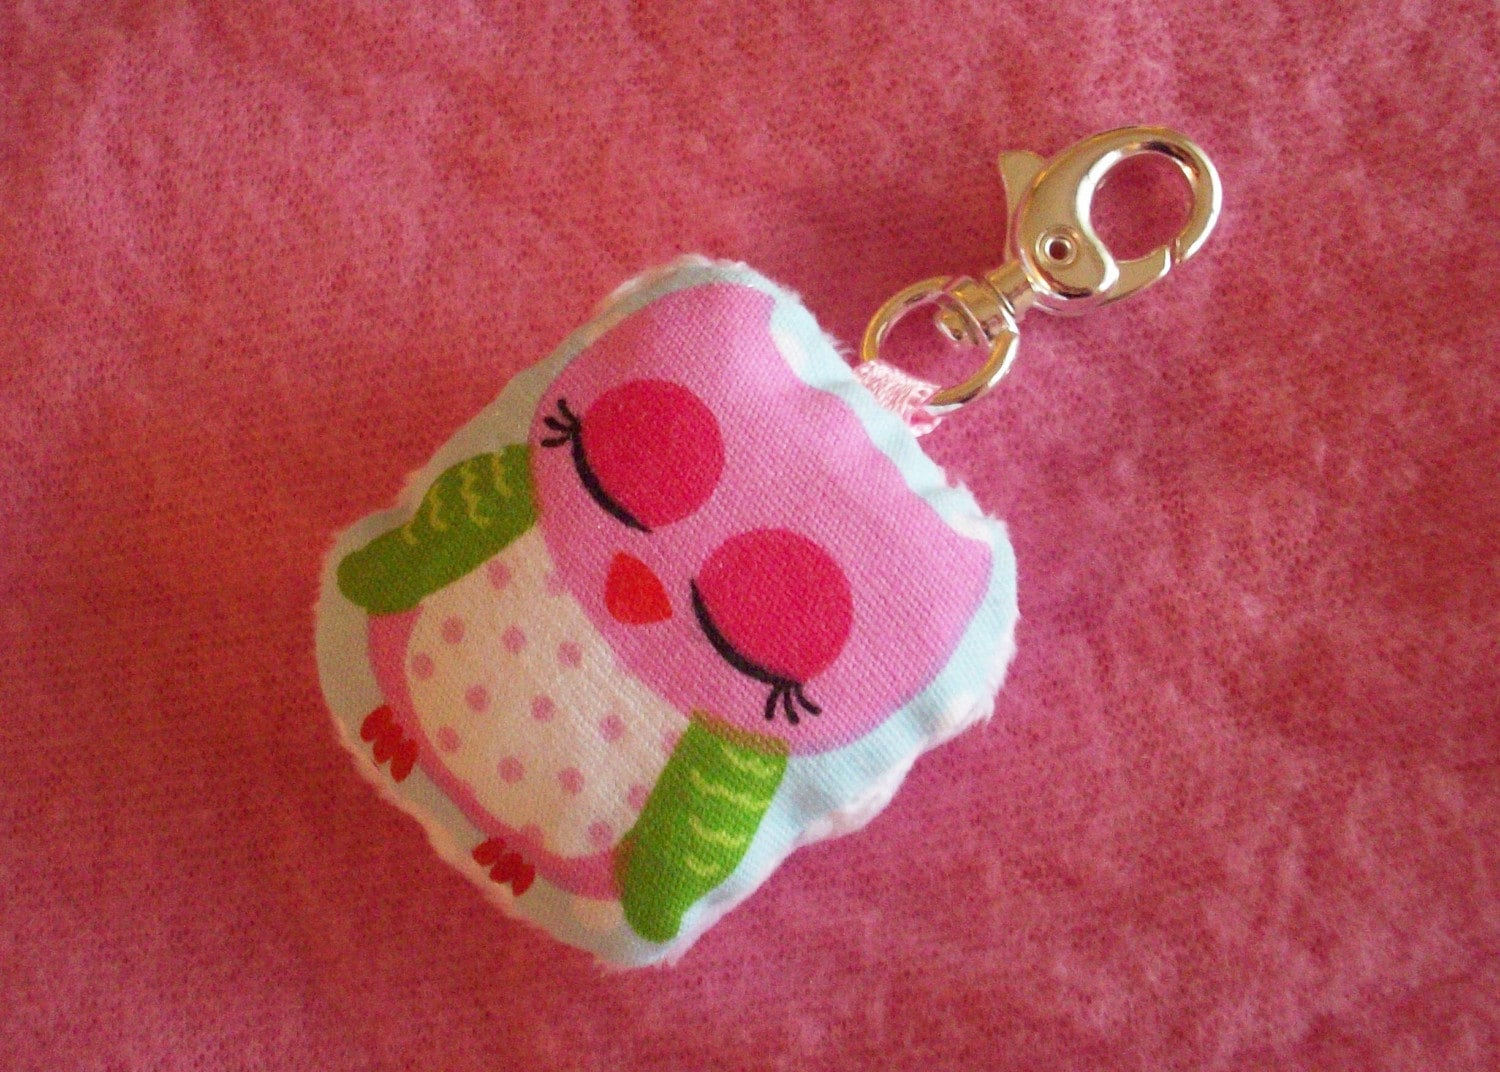
Sleepy Owl Plushy Key Fob - Minky Fabric used for the back
oh...I would love to see this cutie on my stocking this year!!!...it's just sweet :)
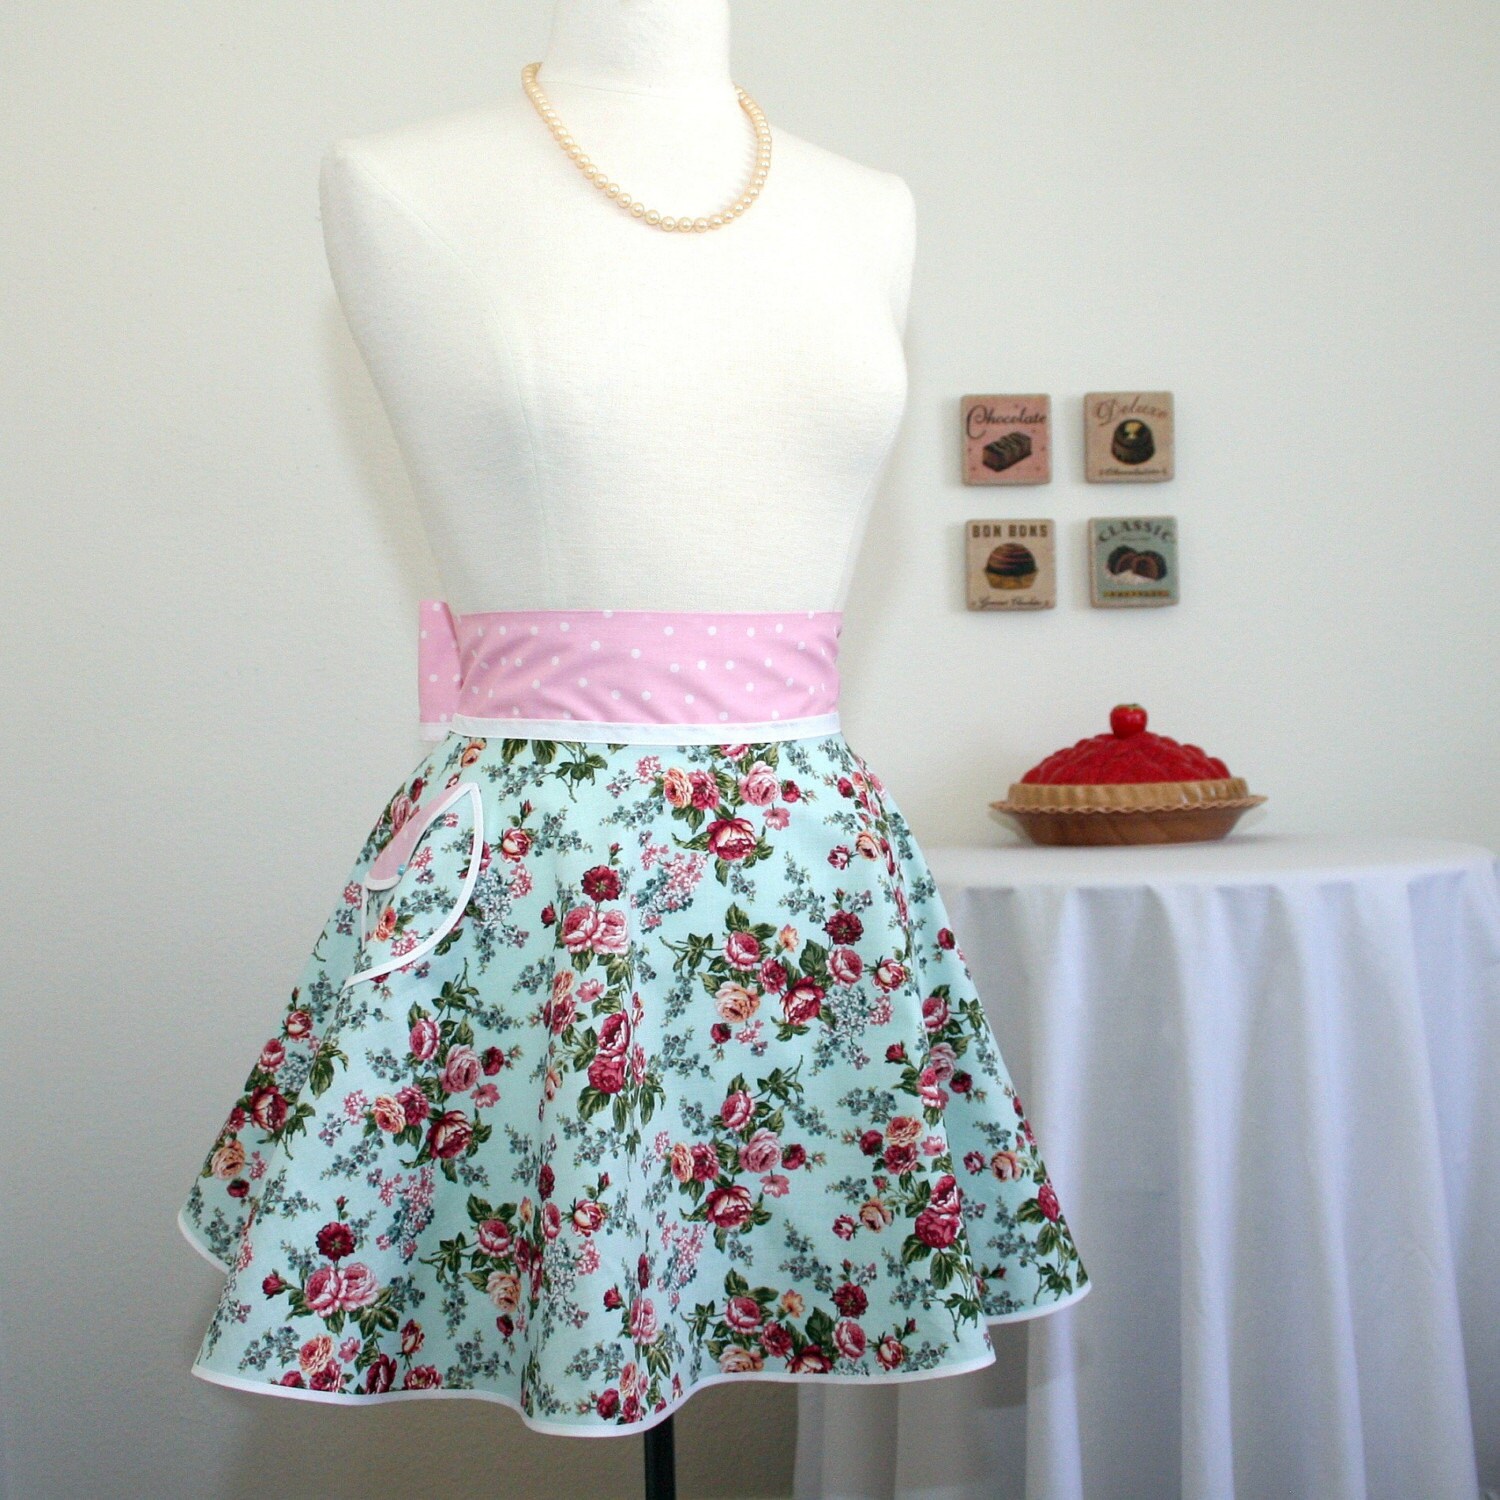
Retro PERFECT CIRCLE Hostess Apron in Romantic Roses on Blue Print--
http://www.etsy.com/view_listing.php?listing_id=33554500
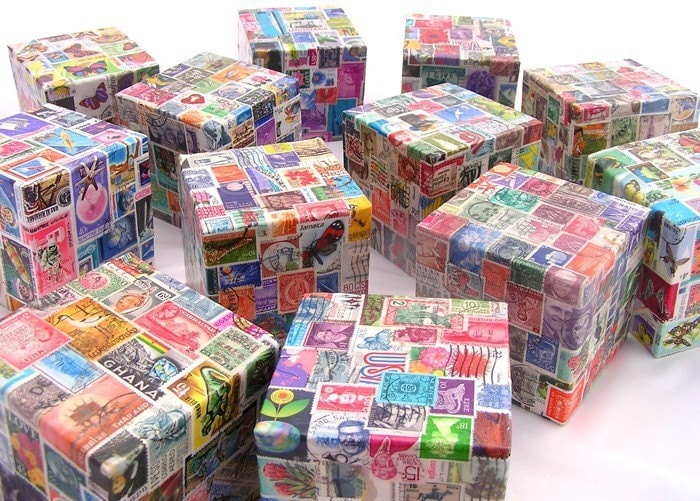
Decoupage Stamp paper weight or bookend
http://www.etsy.com/view_listing.php?listing_id=34053515
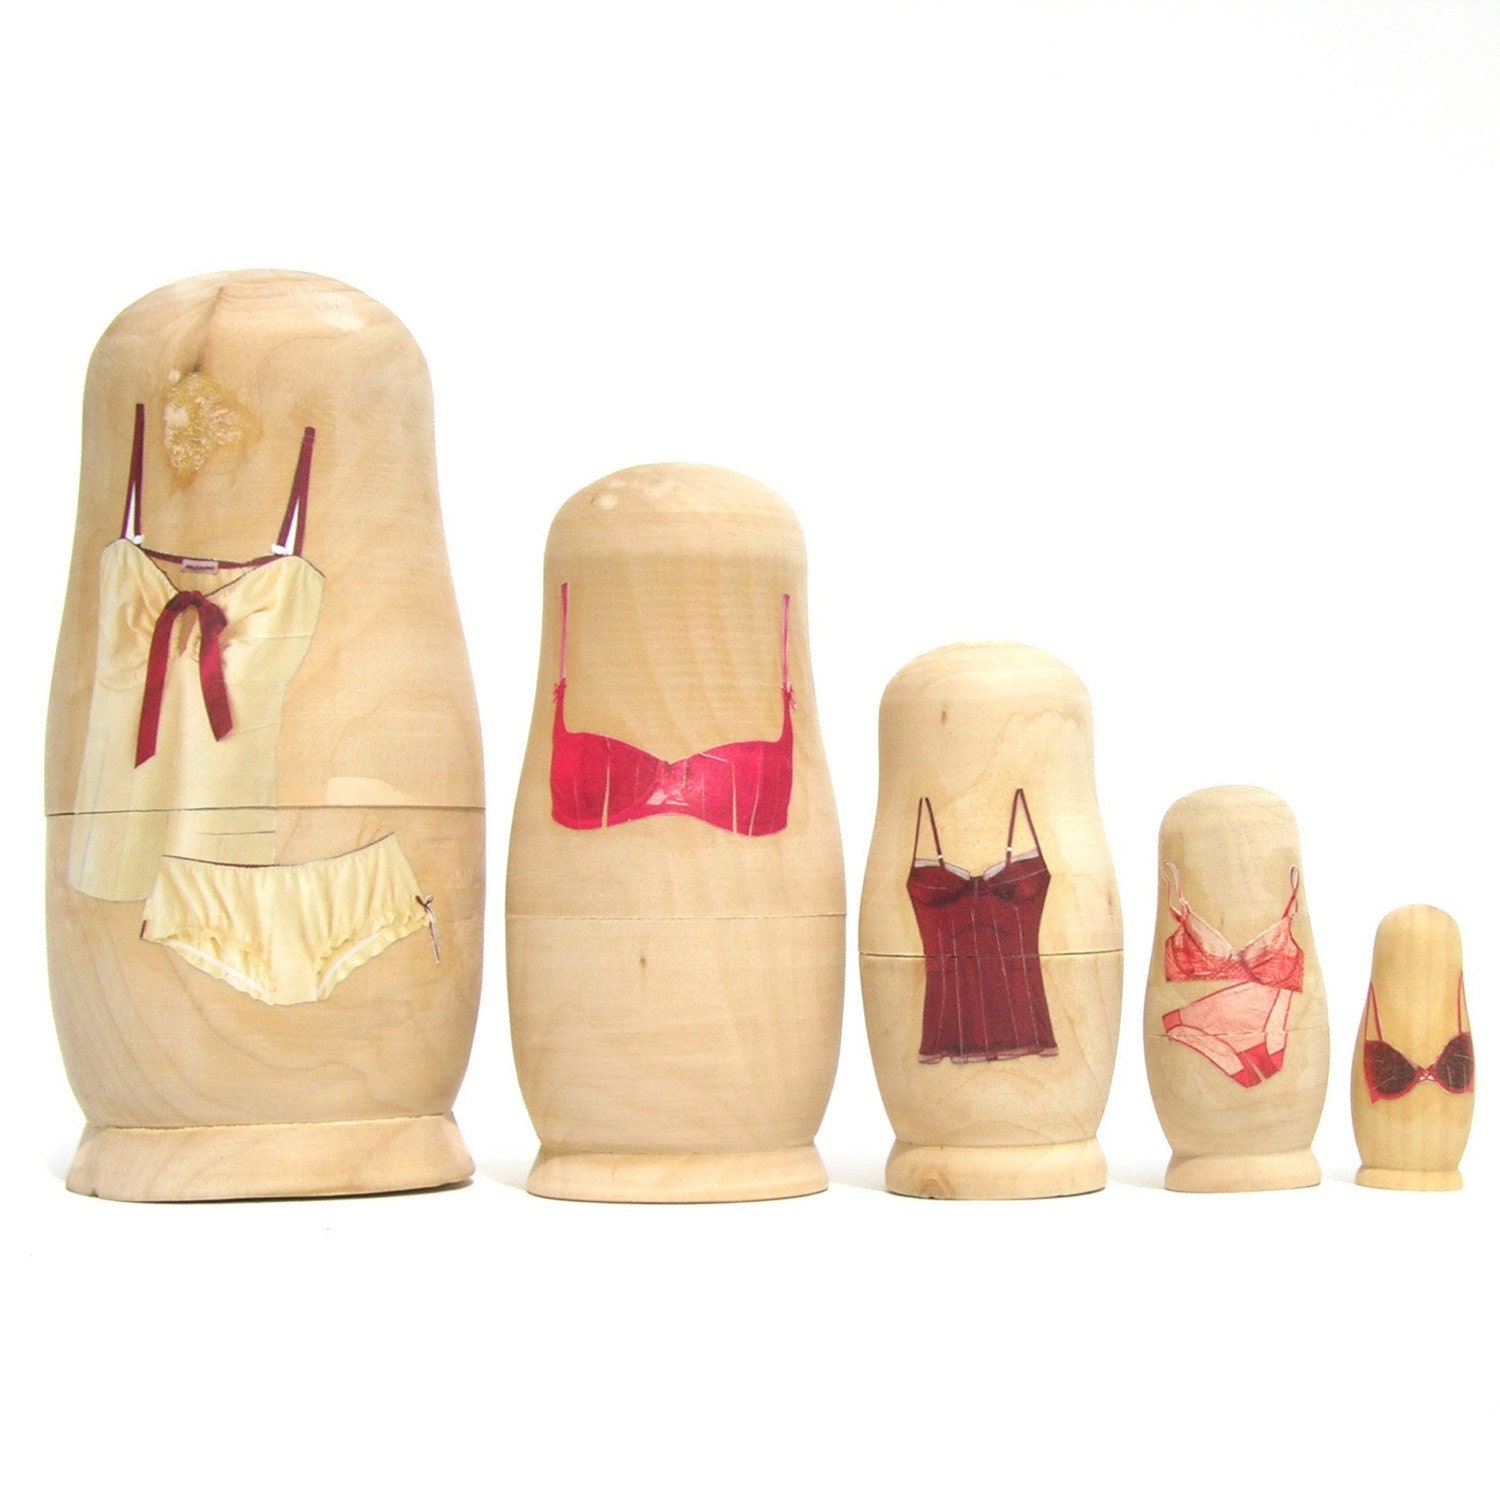
ALL OF ME, nesting dolls
I really love this one...this will be a great gift for any girlie girl!!! I would love to have them by my window next to my make up station...sooooo sexy!!
Wednesday, November 18, 2009
Lollipop cookies!! Yuuuuuuuuuuuuuummm!!!
1. Prepare the cookie dough
2.Let cookie dough cool inside the fridge. This way you will have a better management when cutting your desired shape.
3.Spread the dough, making sure that you will have space to insert the lollipop sticks.
4.Place lollipop sticks right after you cut each cookie, be careful don't rush...you don't want them to stick out of your cookie!
5.Preheat your oven at 350*C
6.Place cookie lollipop on baking pan, 1" away from each other (because they will expand a little bit)
7.Let them cool ....and let the fun begin!!
Tiny wall...
Apply the first coat...
Realaxing time :)
This is how they look when you apply the first coat ... all you have to do now is let them relax. A few hrs. will be fine, but if you feel more comfortable you can let them dry overnight. I recommend to leave them drying over night when the first coating is white because if they're not and you apply another color on top they tend to suck the moist from the new application and you will end up with a blurry effect on your final design...sometimes is not nice looking :(
Swirlssssss!!!!!!!
Once the first coat is completely dry...you can add your decor!...The customer wanted swirls...so I took the orange icing, you need to make sure that your icing is a little thicker like a toothpaste consistency so it won't go around (bleed over the cookie) and if you want to add sugar crystals (like I did on these ones) you have to do it right away before it dries.
Almost ready to travel...
Once you make sure they are dry...you wrap them up in a clear cello bag and tie really really hard so no air will come in and they can keep fresh!! add matching ribbon and they're ready to go!!! These traveled all the way to NC.
What a cute idea!!
Here's a pic from the party...don't they look great!! These were made for a Bday party with a Hot Pink and Orange theme. The centerpieces look like so much fun!!
Thanks to my sweet customer Stephanie from NC for sharing this eye candy :)
Tuesday, November 17, 2009
Say I Love You...
For those who think wrapping a gift it's just to cover up whats inside...think again!! Just a few simple touches will make a big difference...and a lasting impression :)
I used a Tiffany blue wrapping tissue paper (the one I use for on my etsy shops) and a small piece of ribbon ( no tape involved) and a little note from one of my Hello Kitty stationary sets...we all have these simple things at home!!! Try it :)
Keep the chic vibe going with cute pattern ribbon!!.. I used polka dots to match the cookie designs :)
A little bling...
I wanted to make it look a little more special...so I added silver edible dust to just to of them !!
Once they are completely dry, you take a small brush, cover it with a little bit of the dust and apply on top of the cookie...as much as you want!! then let it set for a few mins. at least and you're ready to wrap it!!
A Sweet Treat I made for my mom
I baked just 4 for her...beacuse if I send her 50..50 she will eat on her own!!! :)
So since it was her Bday..I decided to make a Hello Kitty face, because she is in Mexico but she says that whenever she sees a Hello Kitty she thinks about me!...then of course a little cake and a pretty gift...and her initial on one of them!! They're prob on their way to Mexico now!!
Sunday, November 8, 2009
My interview with Janae Chang's (pinkdandychatter.blogspot.com)
http://pinkdandychatter.blogspot.com/2009/11/meet-etsys-fun-favors-enter-to-win-her.html
This is my first blog-terview :)
Her blog is full with tips, ideas and her daily life...you can relate all the way!!
Thanks Janae!!
Friday, November 6, 2009
Table Decor for the Holidays
*You can find these items in my shop:
www.funfavors.etsy.com
You can personalize just about everything to make it just perfect!!
You don't have to spend a ton of money on your guests treats...these cute bags and matching toppers seal the look!! They make everything look more appetizing!
Thursday, November 5, 2009
Hello Kitty Theme Party
Over the weekend I worked on a Hello Kitty order, from a very nice young customer from CT. She was going to surprise her friend with all of these for her BDay...don't we all want a friend like that. Check some of the sweet treats (it was a lot) all in hot pink, black and polka dots - tres chic-
This order also had white chocolate Hello Kitty faces lollipops...I made the cake pops using the same mold...you can only tell once you bite into them!!
These are great for any Girlie type of party...They came out bigger than what I expected!! They will look great at the Candy buffet, since they stand on their own.
Pinata Party cookies
I made these cute cookies for my Spanglish team. It was my donation....some lucky person will win them soon. Check the Spanglish blog...I'm sure you will learn a lot about different latino traditions
http://etsyspanglish.blogspot.com/
http://etsyspanglish.blogspot.com/
When you are Hispanic and you think "childhood" ...I'm sure everybody will agree with me...you think about the best Pinata Parties you went to!!
Our Halloween Pumkin
My Boyfriend wanted to carve a pumpkin this Halloween...so check it out...we went late to get ours, so this is the best one we found :)
Subscribe to:
Comments (Atom)

