Showing posts with label cookies. Show all posts

Tuesday, September 13, 2011

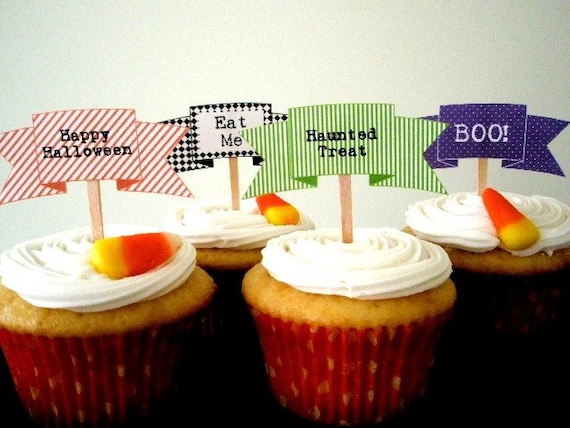
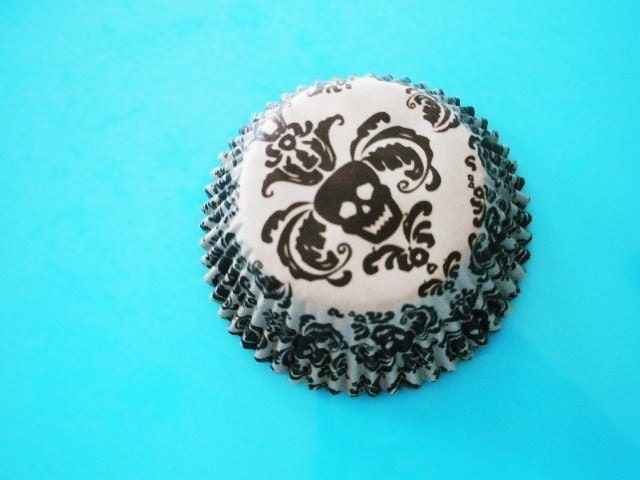
{NEW} Fall & Halloween Parties

Our favorite Fall items are back in the shop!

Whether you're celebrating a birthday party, baby shower, a bridal party and of course your fabulous Halloween party ;) we will help you make it special!


Monday, April 4, 2011

Whimsical Garden Cake

Make a delicious and beautiful Whimsical Garden Cake to celebrate Spring!! (or the lack of it here in NJ LOL)

I made this cake for my mother in law this past weekend...she loves gardening, flowers and we celebrated her bday!♥


Your need:


♥ A birthday cake (I made a vanilla shortcake with strawberry filling and vanilla buttercream)
♥ Decorated sugar cookies (1 dozen mini cookies aprox.)
♥ Fondant
♥ Edible Markers
♥ Disco Dust {Lots!}


What to do:


♥ Ice your mini sugar cookies with flowers, mushrooms, clouds, butterflies...etc.
♥ Add Disco Dust to as many mini cookies as you want! (as you can see I almost did it in all of them!)
♥ Ice your cake with your homemade buttercream recipe. Let set for at least 30 minutes inside the fridge.
♥ Decorate your cake placing the decorated cookies (when they are compatibly dried) around the cake as you go!
♥ Add personalization with a little fondant, using edible markers. I made some mini flowers and a mini banner, as you can see I wrote my mother in law's name on it :) and done!
♥ You can place the cake back into the fridge until you're ready to share it!


on both sides


On the back...


And the final look!


Enjoy!!
xoxo

Wednesday, March 9, 2011

Personalizing your party!

Easy and inexpensive ideas for a fun party with a personalized touch!

♥ Label your drinks ♥

Buy sticker paper at your local Staples and print anything you want on it, then added to your water or soda bottles.
I used Stewart soda, found at the grocery store.


♥ Make a Chair//Door Sign ♥

Use white card stock to print the birthday girl/boy's face with a sweet msg! and embellish it with ribbons
I used 110lbs. card stock


♥ Fill the room with balloons ♥

Floating balloons are really fun! Use the same sticker paper and print anything you want, cut it and add to your balloons :)
I bought these balloons at my local dollar store! for $1.00 ea. and they have them in any color, so perfect for any party!


♥ Centerpieces ♥

Make these cute centerpieces for less than $2.00 a piece!


♥ Unique Favors ♥

As you can see this was a Root Beer Floats theme party at Stweart's so I added a mini cookie to each drink for the guests to enjoy on their ride home :)
To keep with the same theme I baked cookies and decorated them with a Root Beer Float shape!


About $30.00 for everything you see above!! for a party of 10 adults. 
Dinner check not included :D

Enjoy!!

xoxo

Monday, December 13, 2010

Chocolate Covered Cookie Lollipops

Make your own yummy Chocolate Covered Cookie Lollipops!

I made these treats over the weekend and they tasted amazing :)

Here's the tutorial for you to make them in time for Christmas..they look adorable!


Your guests will be in for a double treat with these ones!

What you need:
1 batch of cookie dough
1 cookie cutter (any shape you love!)
White lollipop sticks
Chocolate candy melts (I used milk chocolate flavor because my cookies had a Gingerbread man shape)
M&M's (for the buttons)
Wax paper
1 Baking tray
1 Tray to place inside fridge
Microwave safe dish to melt chocolate melts


What to do:

1. Spread the cookie dough and cut cookies with your cookie cutter.
2. Add a lollipop stick to each cut cookie dough, creating a lollipop and place in tray baking tray allowing 1" in between for perfect baking. Bake them for 10 minutes.
3. Let your cookie lollipops cool off for about 30 minutes.
4. Melt chocolate candy in your microwave safe dish. Dip cookie lollipops in the chocolate, help yourself with a small spatula or spoon.
5. Tap the lollipop to make sure you get rid off the excess chocolate from dipping.
6. Place chocolate covered cookies in a tray already covered with wax paper.
7. Decorate by adding M&M's and other sprinkles, royal icing or white chocolate.
8. Place them in the fridge for 15-20 minutes or until the chocolate hardens.


Really fun to make...

Enjoy!!

xoxo


Tuesday, July 13, 2010

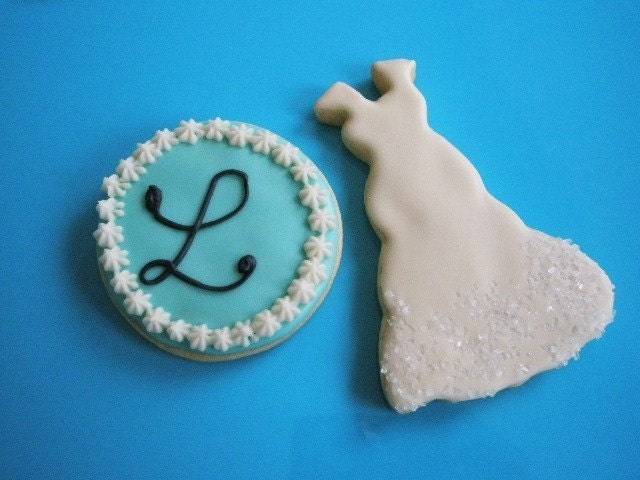
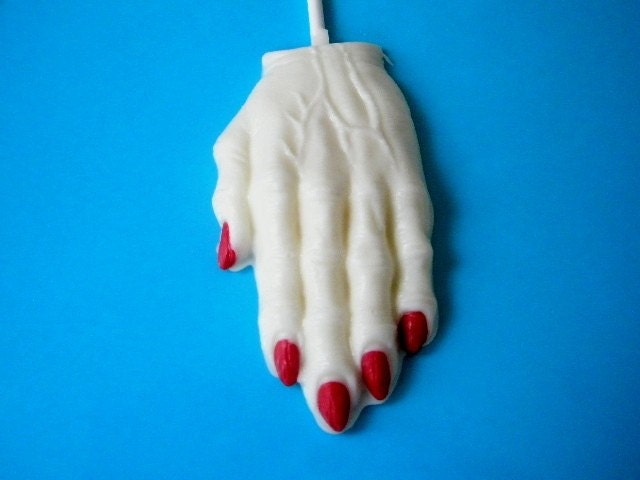
Introducing I Do collection 2010

All NEW for the brides on the hunt of the perfect wedding favor. Chic & Classy!!


Enjoy!!

xoxo

Friday, October 16, 2009

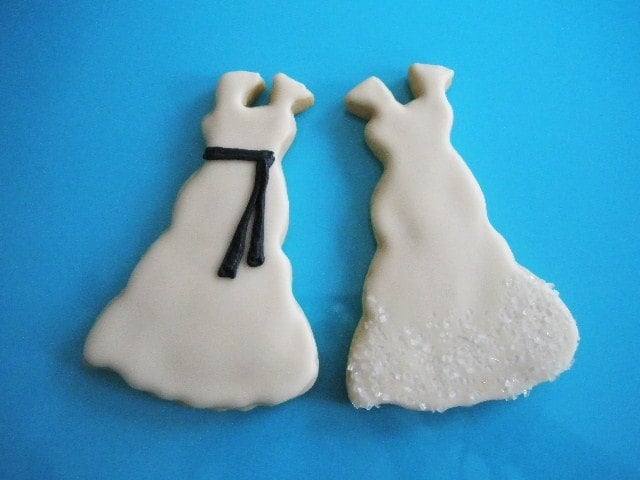
FALL EXPLOSION cookies


Fall is def here!!! at least in NJ you can feel it and see it all over the place, the leaves are already falling and turning into beautiful colors!

Halloween cookie favors


I made these cookies for my shop www.funfavors.etsy.com in bright colors, and because I love the way cookies looks with sugar crystals on them!

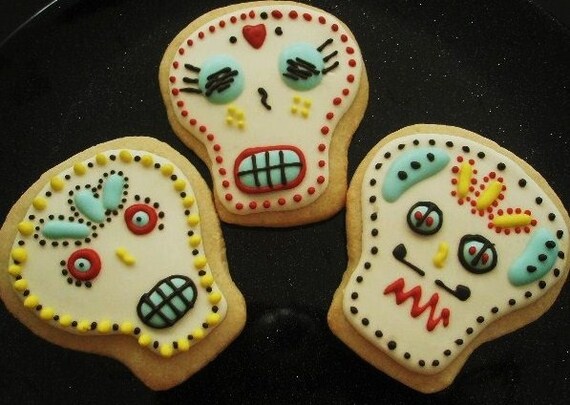
Dia del Muerto


These beautiful Dia del Muerto cookies where inspired by a mexican tradition, that I think it's getting stronger these days I found out that lots of brides want them on their weddings!!! go Mexico :)
 

Blog Template by YummyLolly.com